A bit of a delay getting this one up, but as usual I got distracted with
other things and that spread out my painting time dramatically.
With
this post, I have officially started on the highlighting (mid-toning, I
guess, but still! Progress!). As mentioned in the previous post, I have
done all my washes for shading purposes, and now I am at the point of
bringing out the colours one by one. Without further ado (and because I
have so many bloody formulas to copy down), here are some pics:

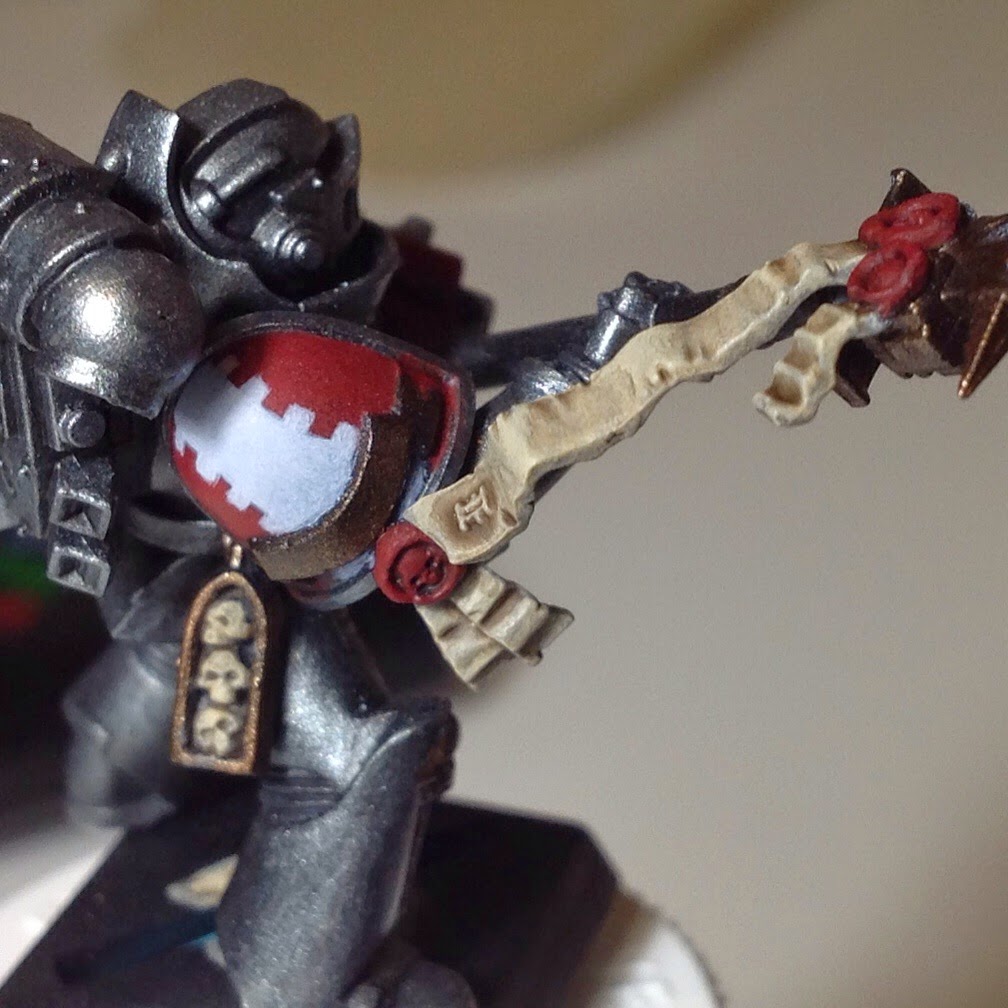 These
two highlight the shading for the reds (mainly 1st pic), and the beige/parchment (lower pic).
They will look much better with further highlighting.
These
two highlight the shading for the reds (mainly 1st pic), and the beige/parchment (lower pic).
They will look much better with further highlighting.
With the reds in particular, I went pretty random with the way the light hits the stormbolter. When doing shading, I try to pick a "virtual light source," generally coming from above, and try to stick to it, but after about 30 seconds I just throw any principles out the window and go somewhat random. At this point in the game, my skills are simply not that good to replicate realistic light physics.
Maybe, after I paint 50 of these buggers, I will have a better grasp of light physics. For now I just tried to make it look *somewhat* plausible, and hope that I don't end up associating with superior painters down the road, so I am not secretly mocked at my impossible light sources.
More pics &
everything else after the break.